Chinese Knotting: The Plafond Knot (藻井結, 国結び, 안경매듭)
[ Overhand Knots ]
[ Generalities ][
Nomenclature ][
Similar Knots ][
How To ]
[ Home ][
Books ][
Links ][
Supplies][
Glossary ][
Blog ][
About ]
A knot without ears, there is very little room here for
elaboration or variation. Certainly there are no traditional
ones although, Chinese
Knotting 3 has a long and horizontal variation on the
plafond but I've got to say they're more of a thought experiment
than anything particularly exciting.
The Plafond or Caisson
Ceiling Knot is named after an architectural feature also
known as a sunken panel roof. Plafond is
ceiling in French. As for caisson, I checked
the translation of the Chinese name, my dictionary and a search
of the Internet on architectural terms combine to tell the story
that this knot was named for this particular ceiling panel style
and there's no zippier translation that does not depart from the
intended meaning of the original name.
Unusually, there seems to be no relationship at all between the
Chinese, Japanese and Korean names for the knot, nor any
immediately obvious reason for the Korean and Japanese names
(was "国" chosen as a pictograph rather than a word based on the
meaning or was this the first knot named "Chinese" and "国" an
abbreviation of "中国" (China, simplified)? Just to see what
kind of results I would get, I searched for "國結び" ("國" being
the unsimplified version of "国") and got nothing but results
for "国結び"). Spectacles also have very little to do with
countries or ceilings. Knowing that the Korean name is also
sometimes translated as "glasses" helps not at all.
Chen 1: Plafond Knot (藻井結,
simplified: 藻井结) [ㄗㄠˇ ㄐㄧㄥˇ ㄐㄧㄝˊ, zǎojǐng jié]
TAoCaWK: Caisson Ceiling Knot
Ruri-Ishikawa:
藻井結(国結び)(くに むすび) [kuni musubi] country (nation) knot
Korean:
Spectacles Knot (안경매듭)
[an-gyeong-mae-deup]
French:
lunette noeud
Ashley: #807 two-strand Chinese
lanyard knot (description, not name)
CBoDK: Chinese Lanyard Knot
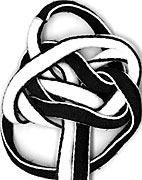
1. 
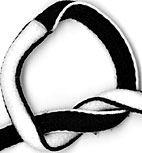 step 1:
starting at the middle, make a simple knot (++)
 step 2:
taking careful note of the alignment of your first knot,
repeat 3 more times for a total of 4 simple knots in a
row.

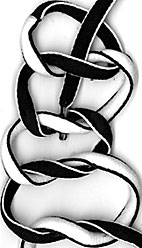

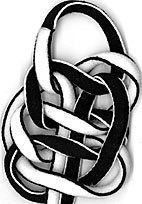
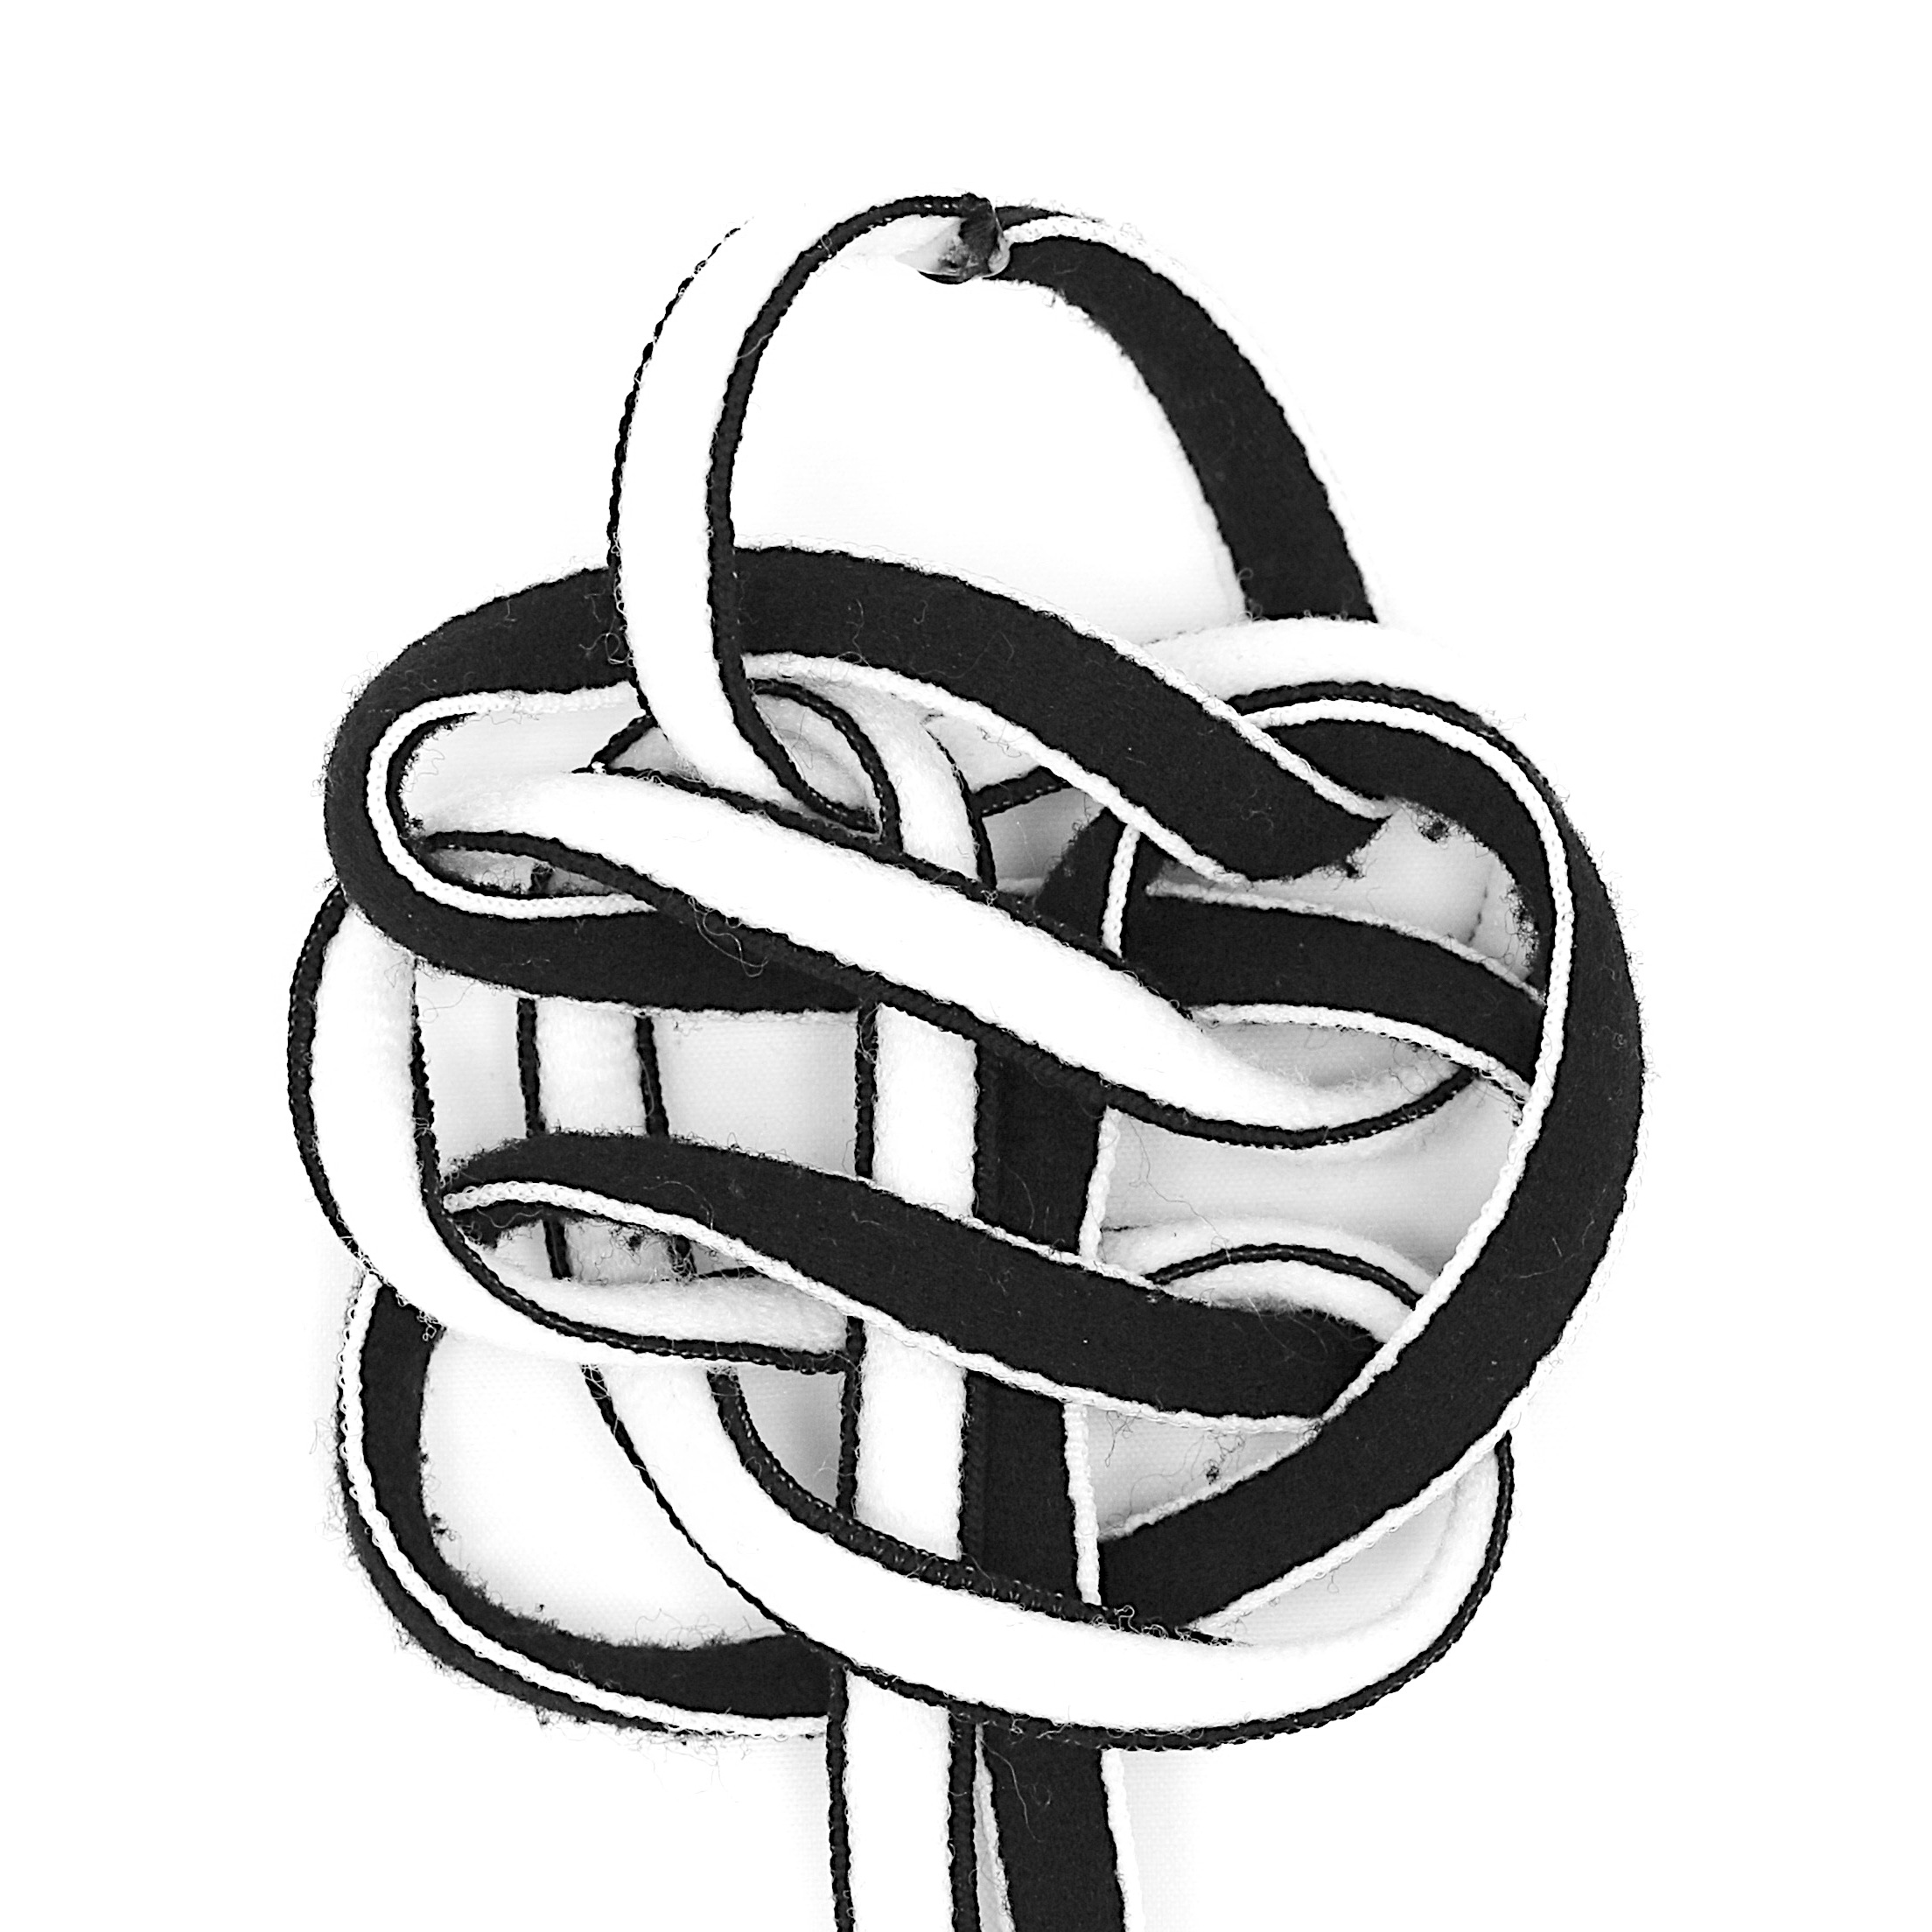
 step
3:
step
3:
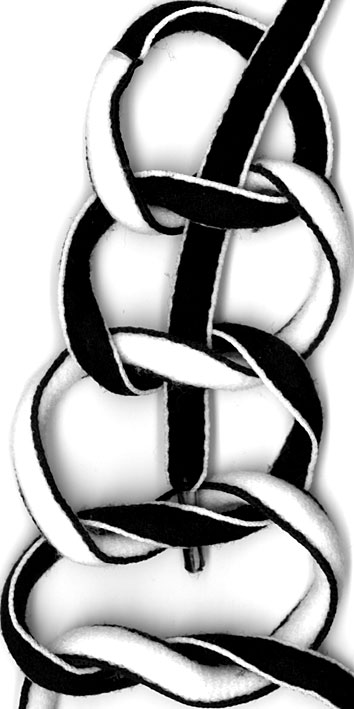
bring the right hand side (RHS) cord end from the bottom
to the top of the knot and through the centres of all the simple
knots tied in the previous step. Note which side (front or back)
of the knot the RHS cord coming from the bottom simple knot is on.
(++)
In this case it is the front, so bring your RHS cord end to the
front of the top loop of your knot. Then the working end goes
down through the centre of the top simple knot. (++)
Then down through the centre of the second simple knot. (++)

 Continue
down through the centre of the third simple knot
Continue
down through the centre of the third simple knot
And then down through the centre of the last simple knot back
where we started this step (++)

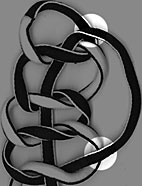
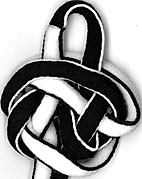
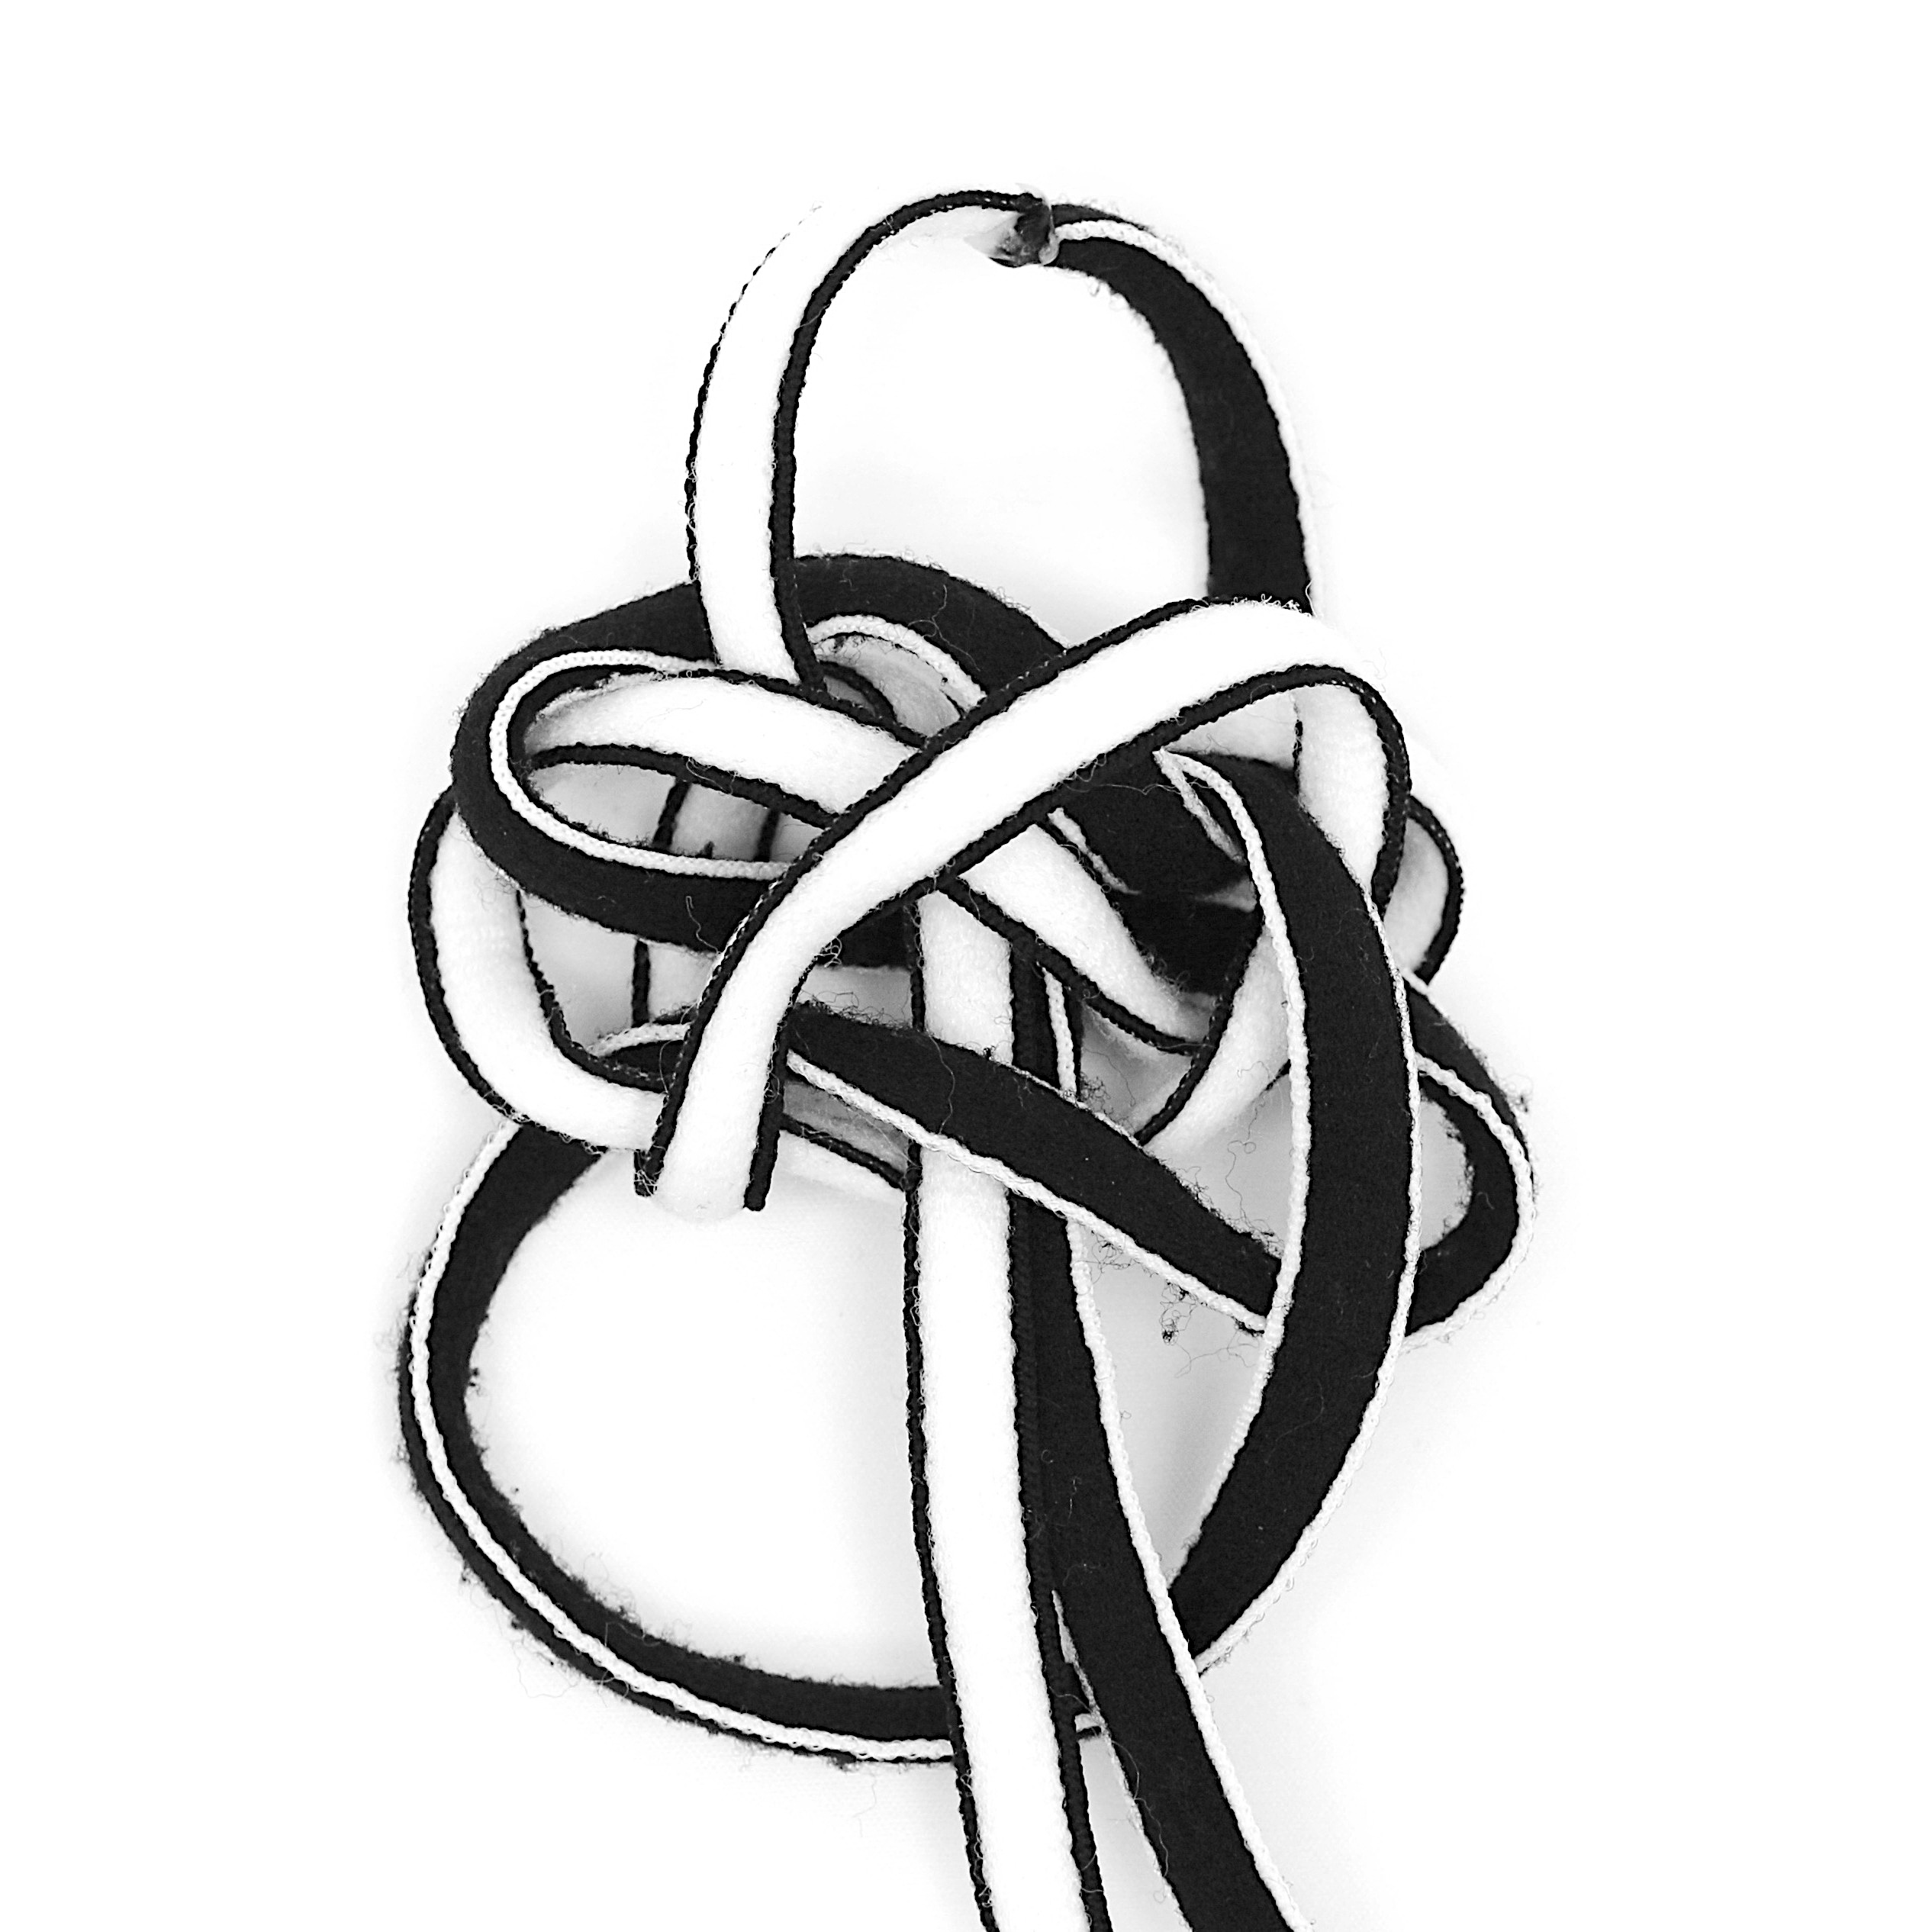
 step 4:
Do the same with the left hand side (LHS) cord, the LHS
and RHS cords will be going through the exact same place through
the centre of each of the four simple knots. Then remove most of
the slack from both sides (++)
remember to note which side of the front or back of the knot that
the LHS cord emerges on from the bottom simple knot (in this case
the back) and bring your LHS cord to the back of your top
loop. (++)

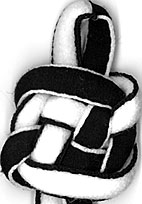
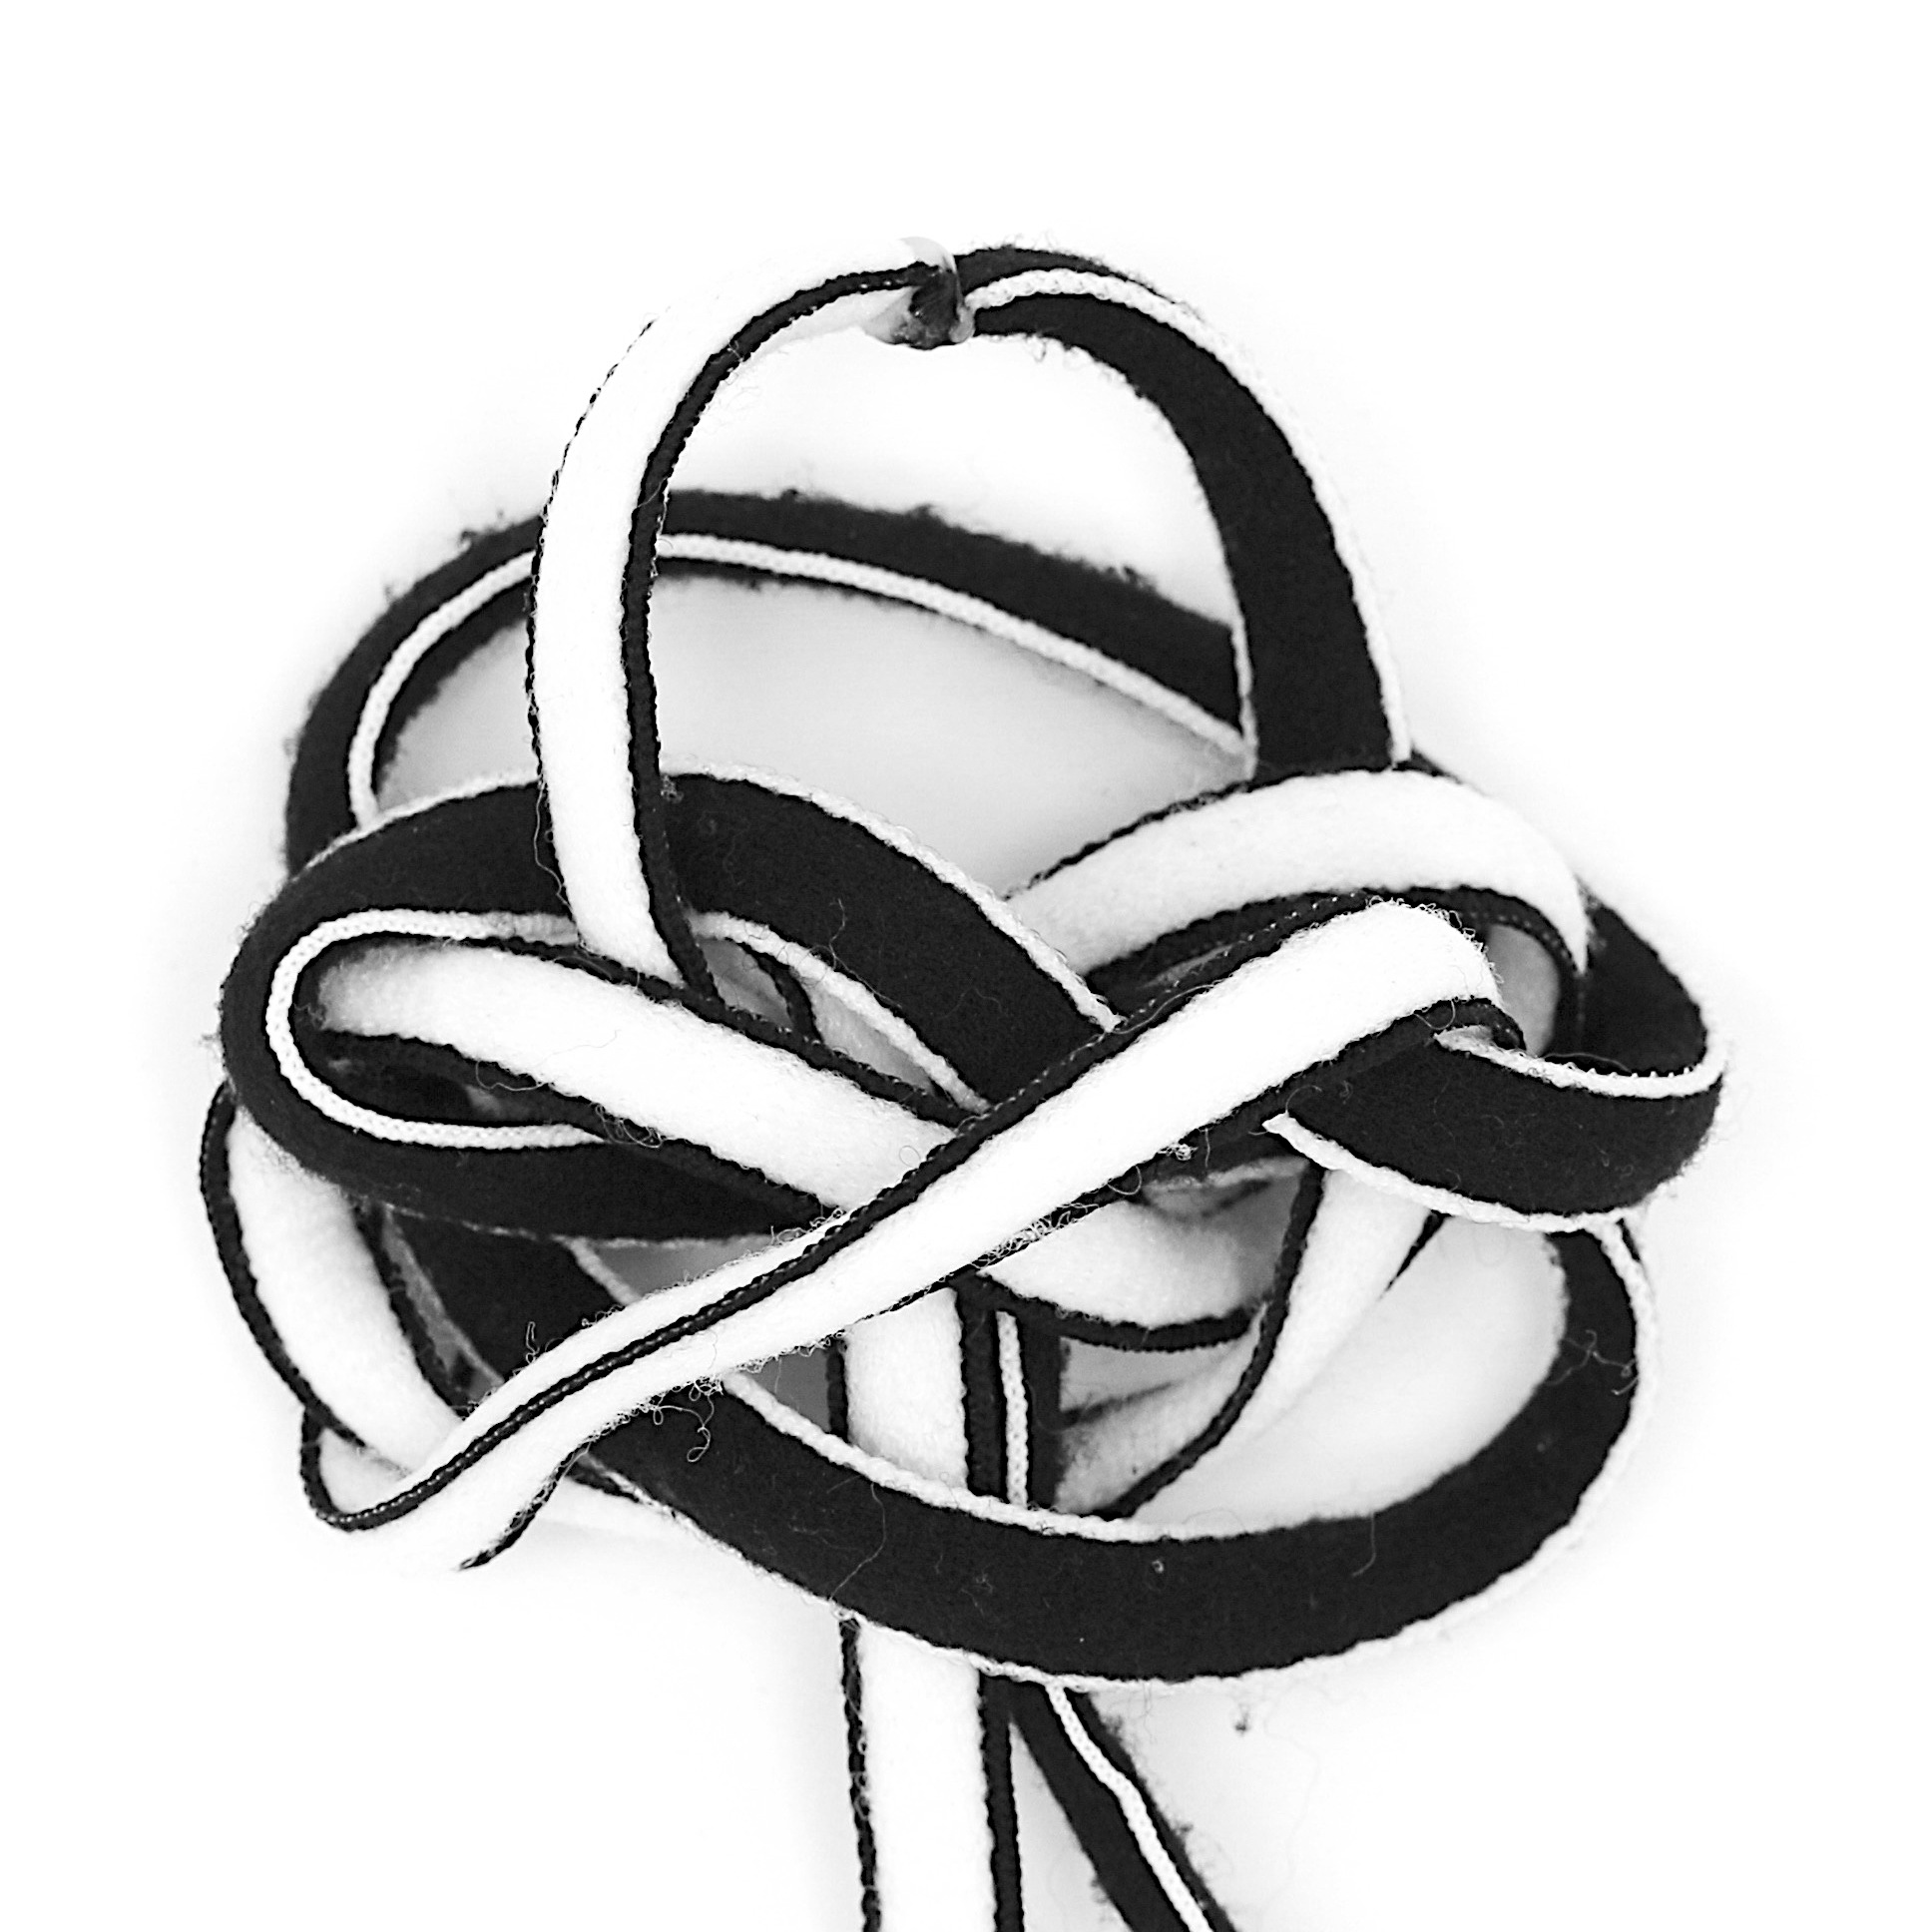
 step 5:
Take the loops from the bottom simple knot and move them to the
top of the main body of the knot taking care not to pass over top
(middle) loop.(++)
firstly carefully remove slack without distorting the knot and
don't let the middle loop get lost in the body of the knot.(++)
move the bottom front loop to the front and top of the mass of the
knot(++)
move the bottom back loop to the back and top of the mass of the
knot. Mind the top (middle) loop and take up slack. (++)

 step 6:
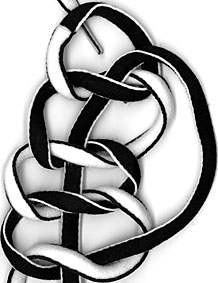
Once more, take the loops from the (new) bottom simple knot and
move them to the top of the main body of the knot taking care not
to pass over top (middle) loop.(++)
move the bottom front loop to the front and top of the mass of the
knot (++)
then move the bottom back loop to the back and top of the mass of
the knot. Mind the top (middle) loop, take up slack and you are
done tying. (++)
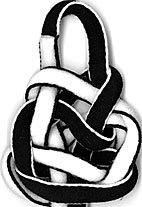
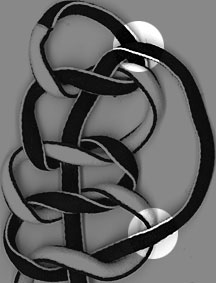
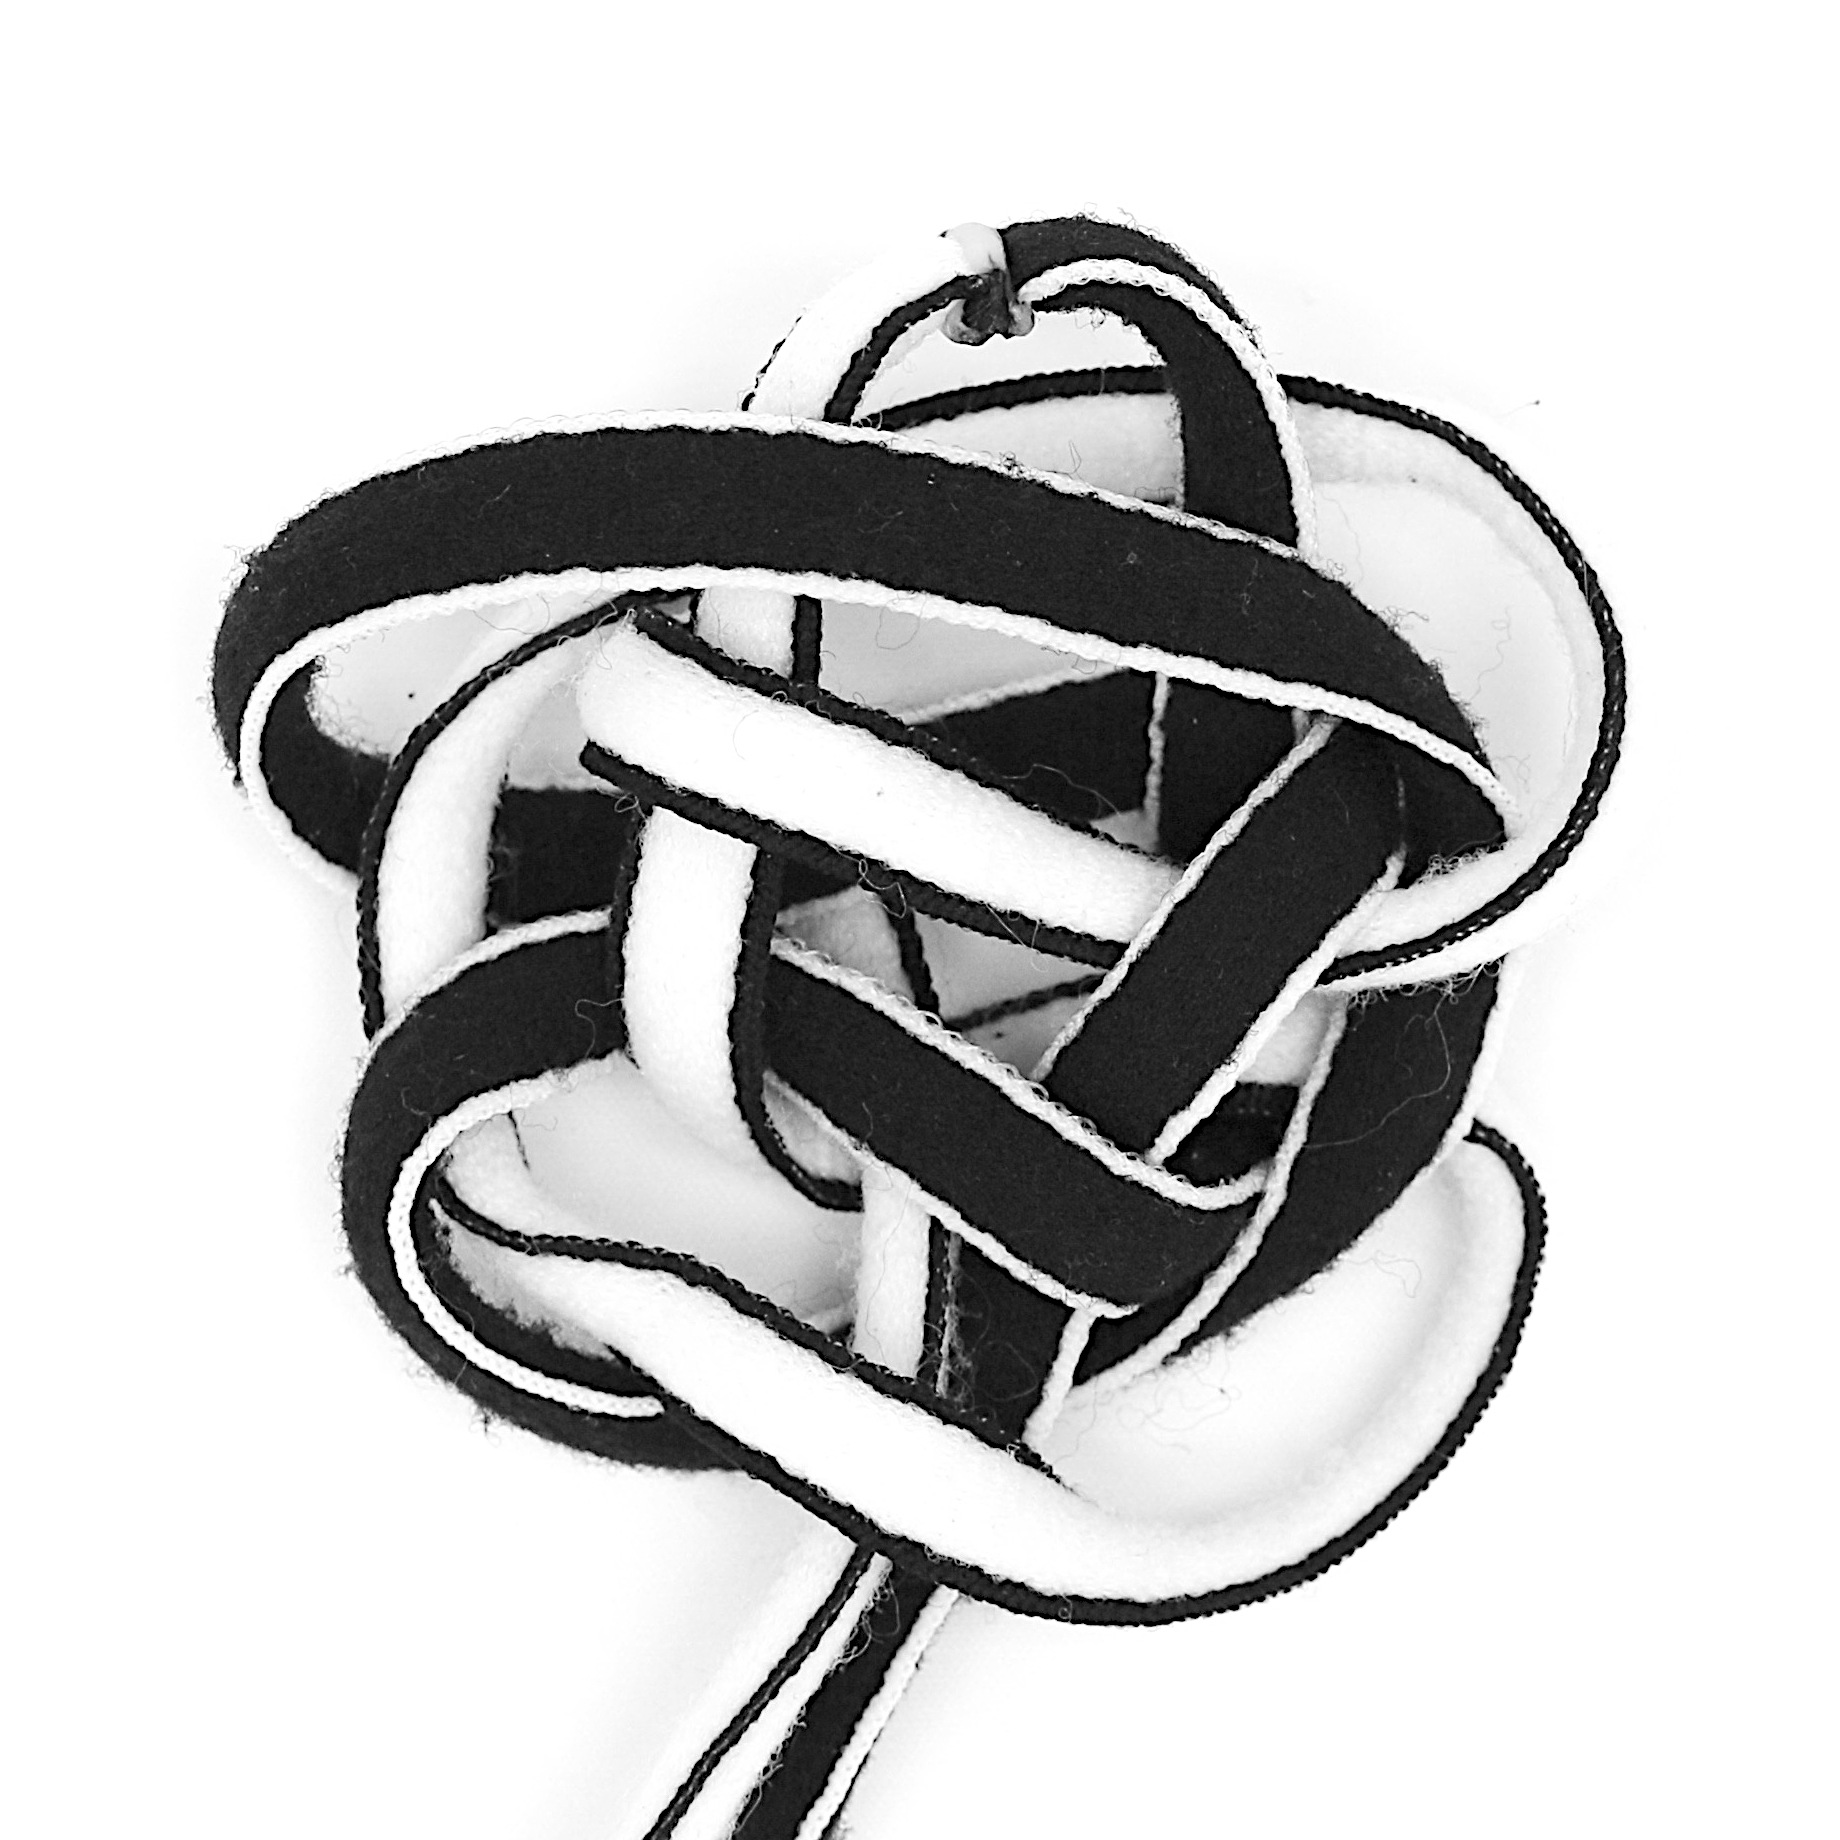
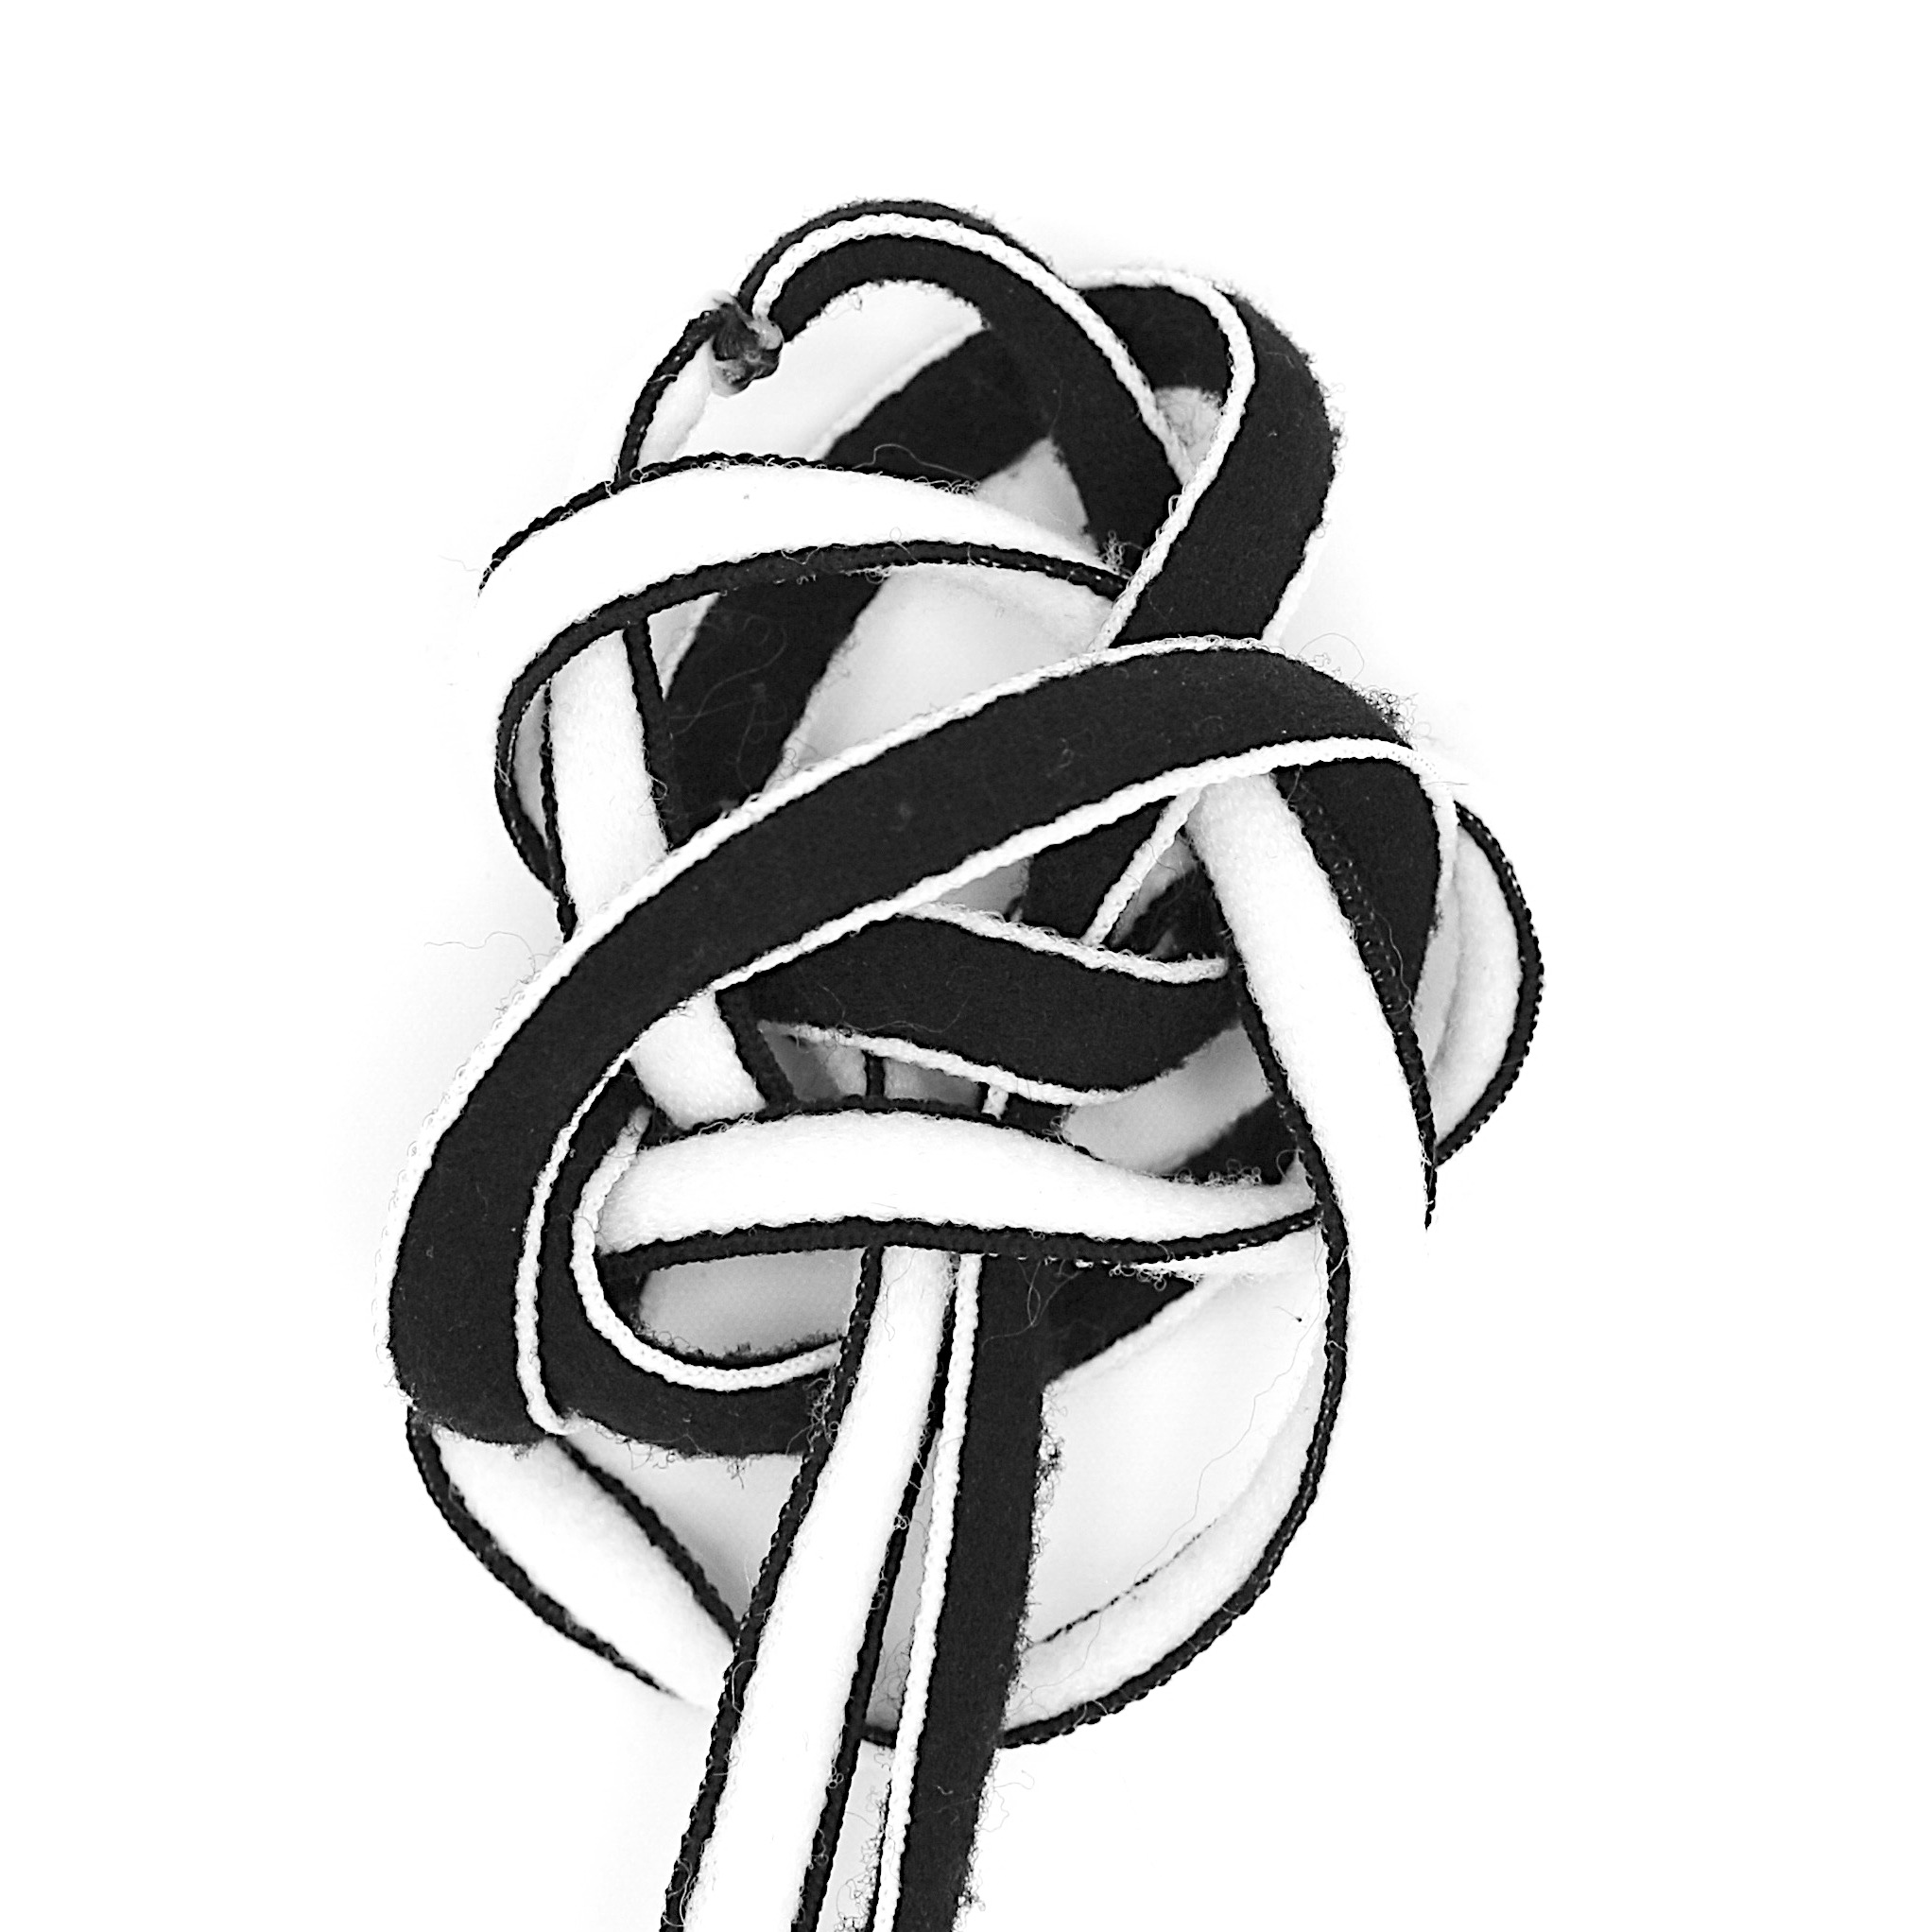
 Finished Plafond Knot:
tighten and adjust, you are done. (++)
CLW
Creation Date: Thu Jun 6 17:32:42 PDT 2002
Last Modified: Saturday, 02-Oct-2010 07:16:19 UTC
Page accessed at local time: Friday, 17-Jul-2026 04:37:48 UTC
 Generalities
 step 1:
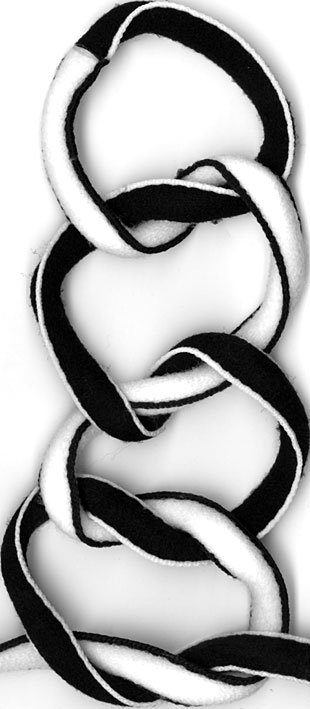 step 2:
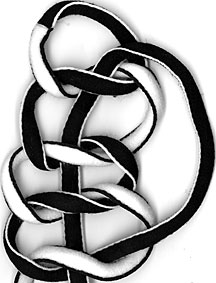

 step
3:
step
3: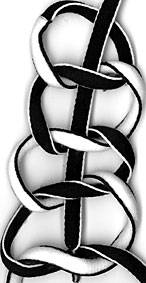
 Continue
down through the centre of the third simple knot
Continue
down through the centre of the third simple knot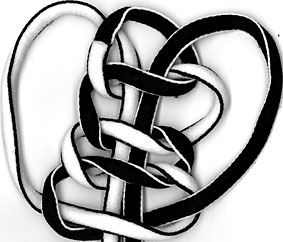
 step 4:
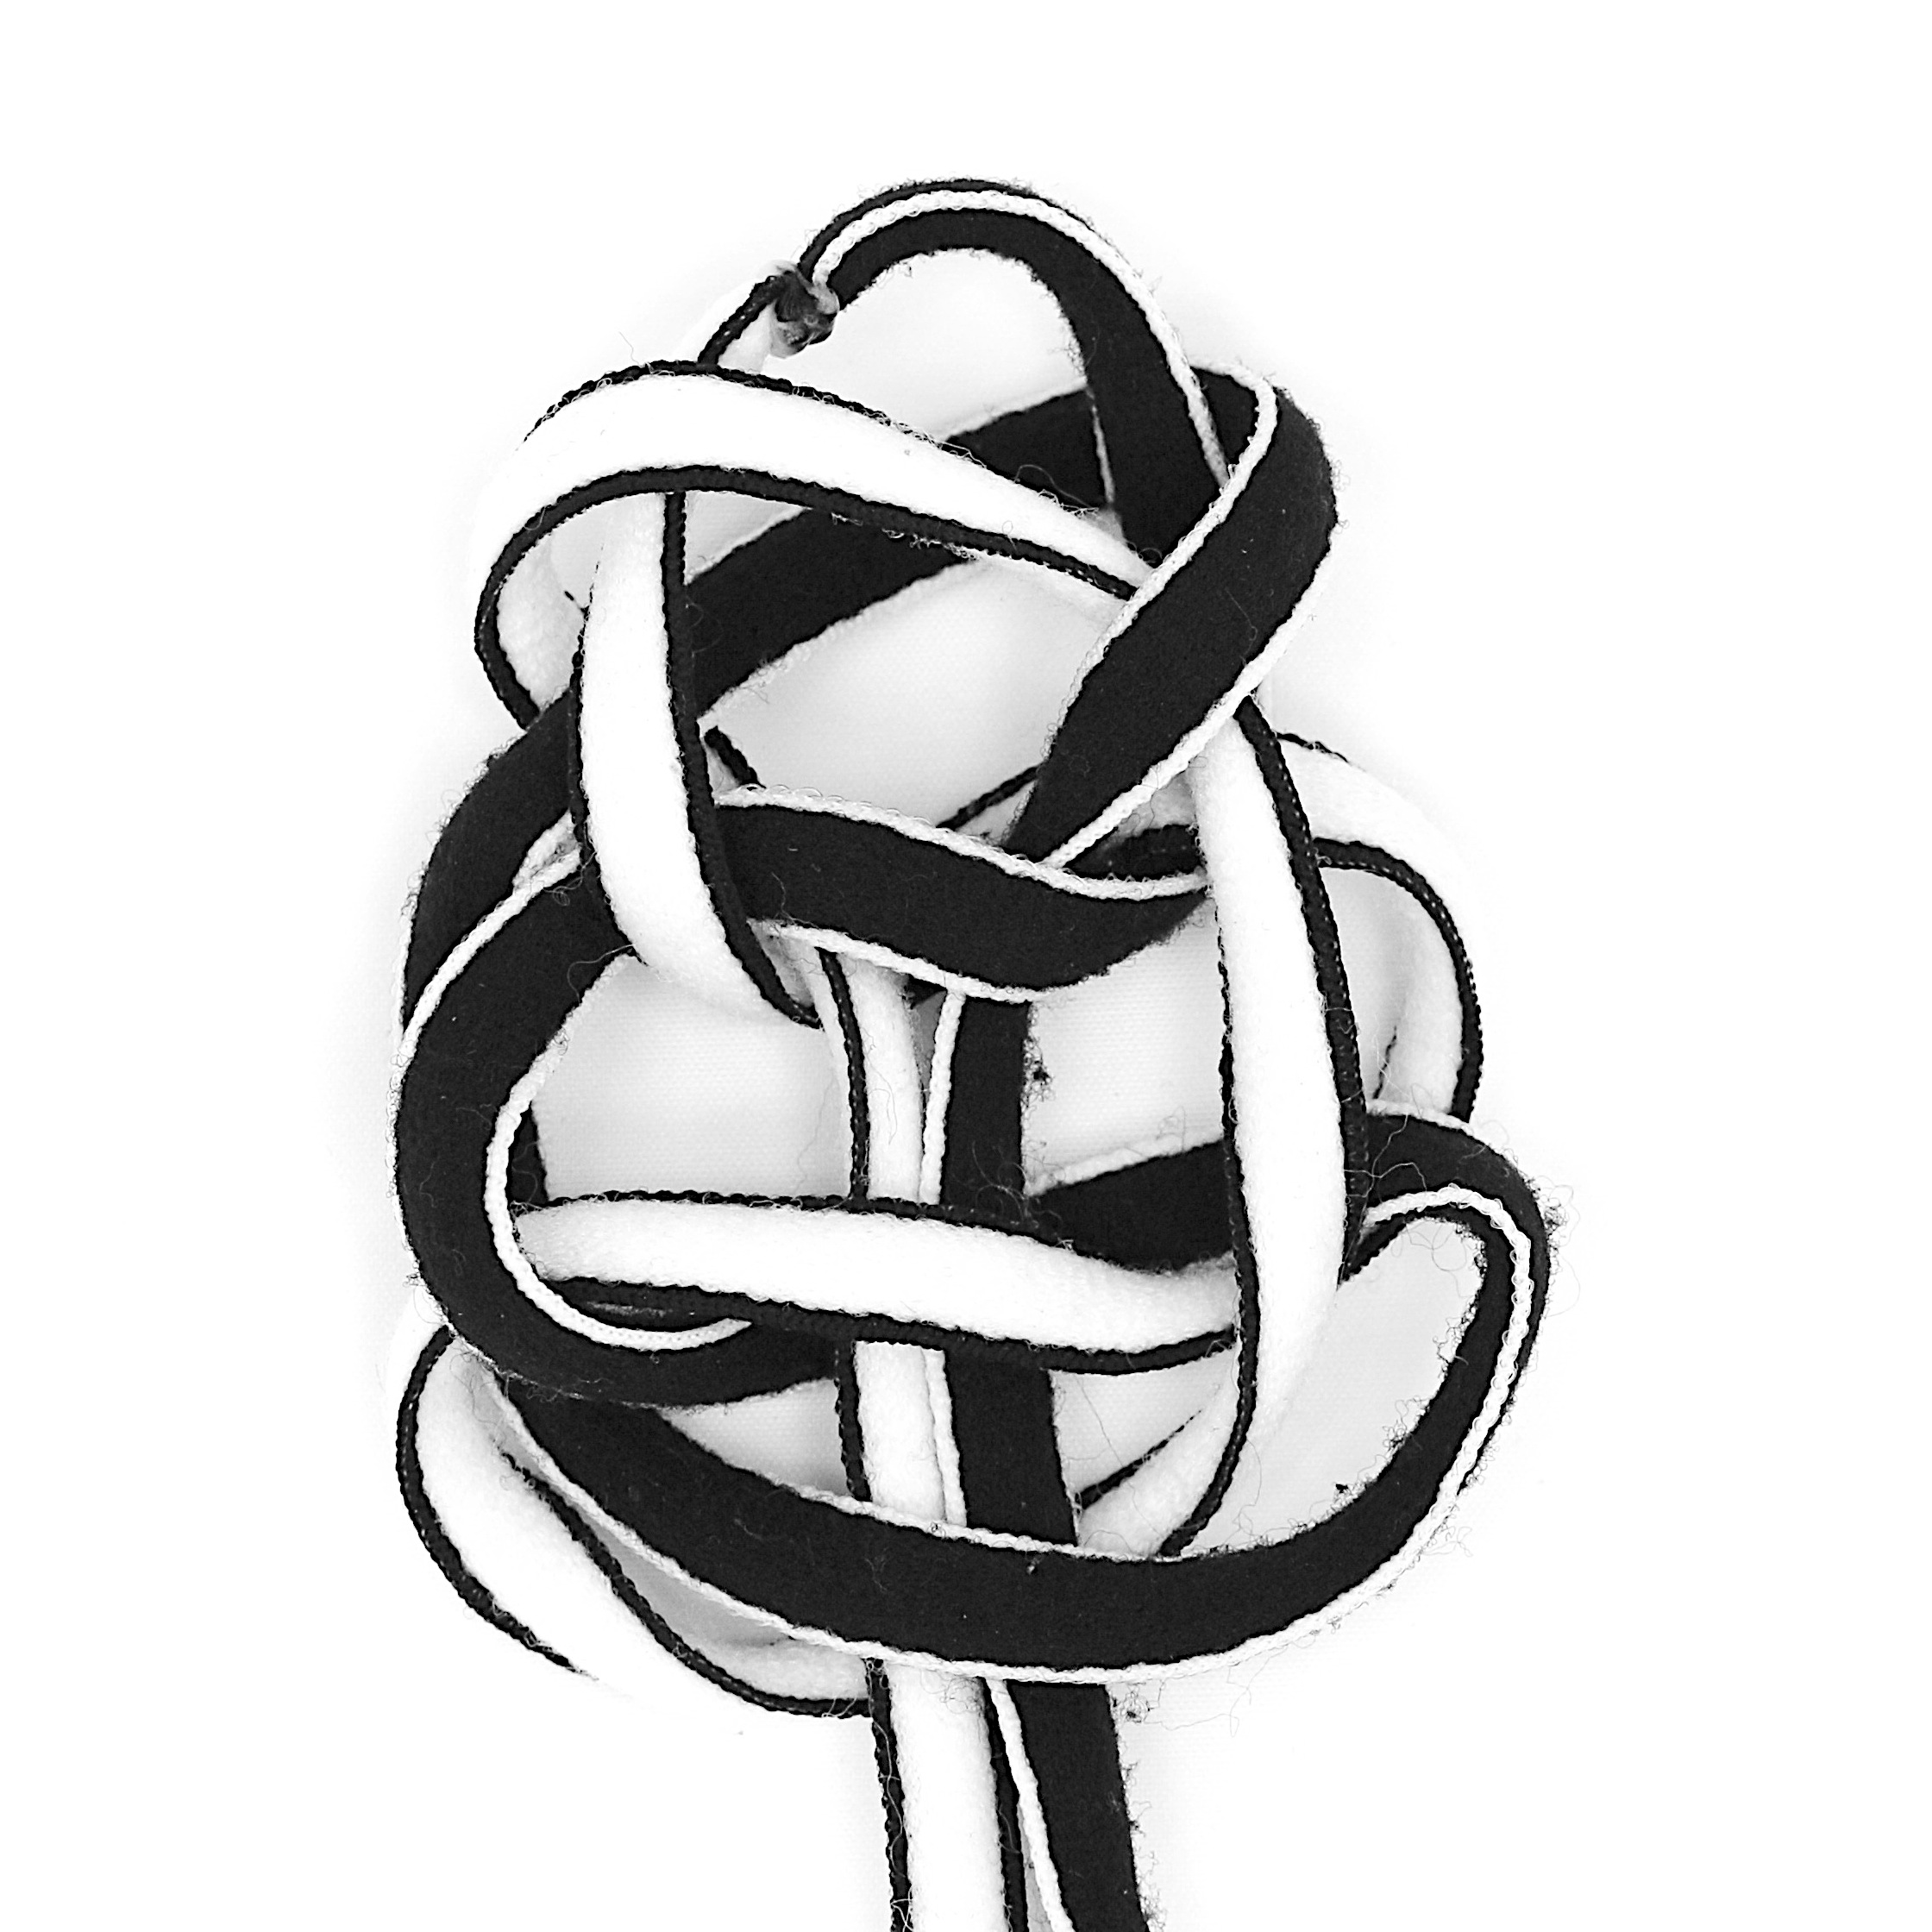
 step 5:
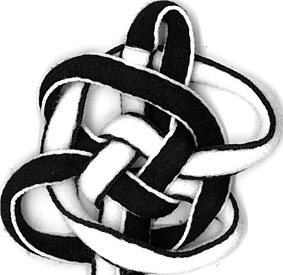
 step 6:
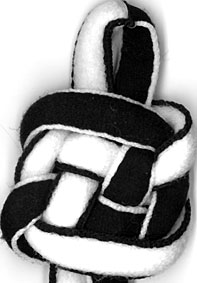 Finished Plafond Knot:
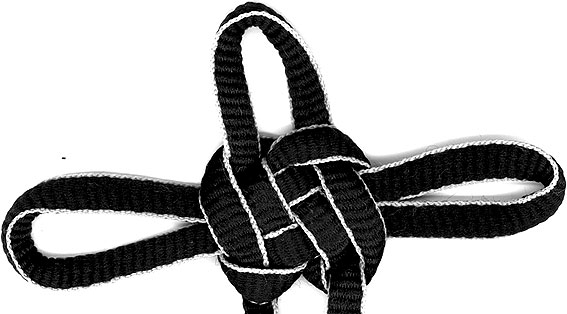